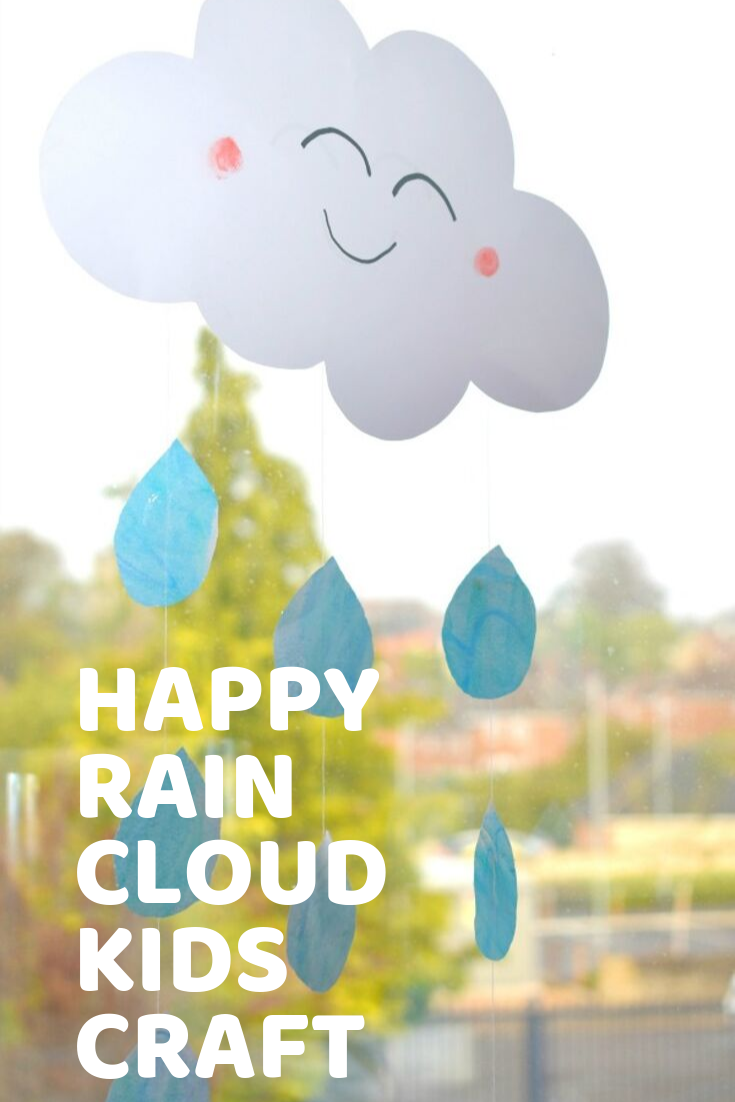
Happy Rain Cloud Craft For Kids
I recently sorted out and decluttered my little ones' bedroom, and I decided we needed a cute decoration or two to brighten up the room! They've got a slight cloud theme going on in their room so I thought we could totally make our own cloud decorations to display on the wall or in the window and even let the light shine through them! So here we have our Happy Rain Cloud Craft!
*This post contains affiliate links
For these adorable happy rain clouds you will need:
* Thick White Card
* Watercolour Pencils or Crayons
* White Embroidery Thread
* Tracing Paper
* Scissors
* Black and Pink Pens
1. Start by drawing and cutting out your cloud shapes. Make them quite large, about A4 landscape size. If your children are old enough they can do this themselves, my eldest cut out one and I did the other!
2. Give your clouds a happy face on both sides.
3. Let your little ones have a sheet of A4 tracing paper each and get colouring with blue, green and maybe even purple watercolours. Once they've coloured the paper in well, they can use a paintbrush and some water to blend the colours together. Leave to dry.
4. Once dry, you or your child will need to cut out lots and lots of raindrop shapes. You could use a template and make them all the same size or (if you trust them with scissors!) you could let your little one cut out lots of different shaped raindrops!
5. Attach strands of embroidery thread to the cloud using clear tape. One to hang it up at the top, and several (we did 3) at the bottom to hang the raindrops from. Then you'll need to stick on all the raindrops like so.
6. Hang up up from the top thread using a drawing pin. You don't have to display it in a window if you don't want to, it'd look super cute just hanging on the wall or from the ceiling!
What do you think? Will you be giving this a go with your little ones?


1 comment
Your home screen isn’t just something you look at — it’s where you actually get things done. When a wallpaper is packed with colors and tiny details, it can easily pull your attention away from what you’re trying to focus on. Minimalist wallpapers help bring that focus back to what really matters: your apps, your tasks, and your goals.
Their simplicity creates a sense of mental clarity and reduces that feeling of overload. Since the background stays calm and quiet, you’re less likely to be distracted by unnecessary visuals. It’s a small change, but it makes a noticeable difference — especially for people who rely on their phones a lot for work or studying.
https://colornjoy.com/blogs/hello-kitty-wallpapers/hello-kitty-wallpaper-desktop-computer-download-2se0y50i6
https://colornjoy.com/blogs/tropical-wallpapers
https://colornjoy.com/blogs/cat-wallpapers/4k-hd-cute-little-kitten-7dr8t88y4
https://colornjoy.com/blogs/pink-wallpapers-1
Post a Comment